How to work with the filter for contacts
Create detailed contact segments in Reago with a sophisticated filter.
Working with the filter
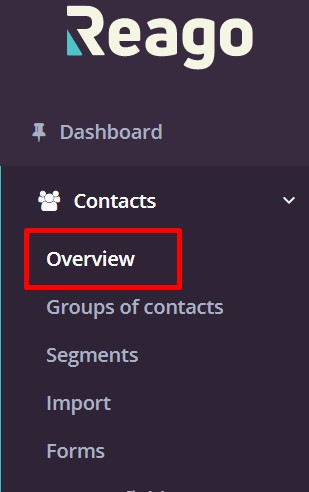
Click the Contacts category in the vertical menu, then click Overview.
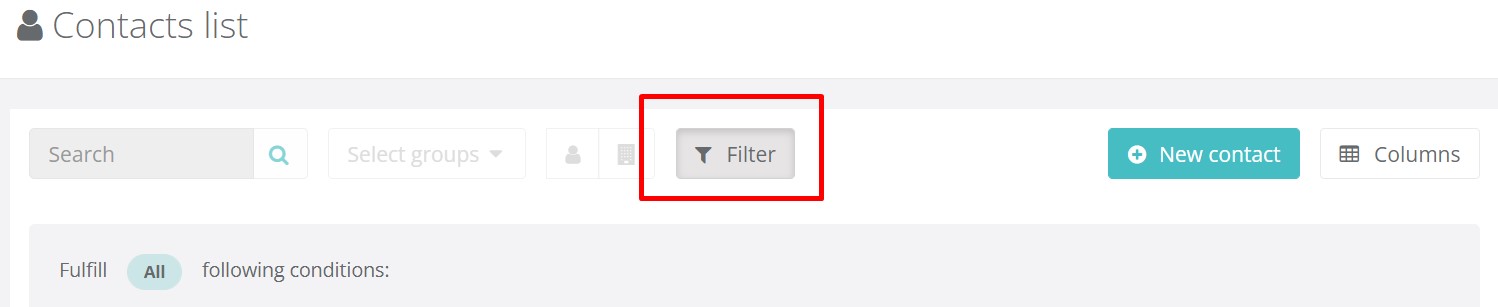
Activate the filter by clicking on the Filter icon.
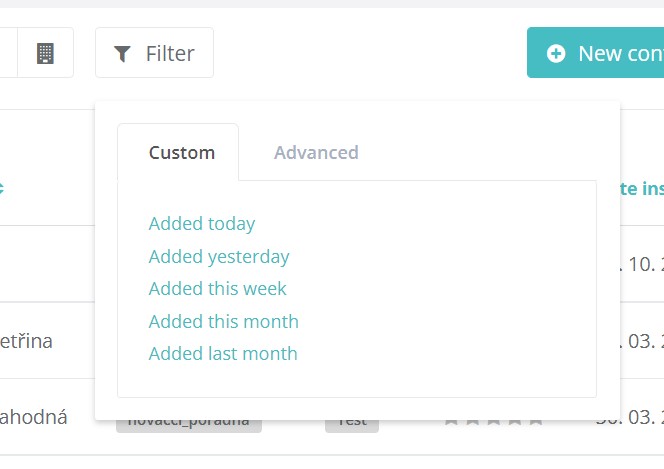
You will be presented with a filter where you can choose from two filter versions, a custom filter and an advanced filter.
Basic filter
Within the basic filter, you can choose from pre-made filters when contacts have been added to your account. Clicking on the selected item will display the selected contacts.
Advanced filter
If you need to filter your contacts based on more advanced conditions, use the advanced filter option.
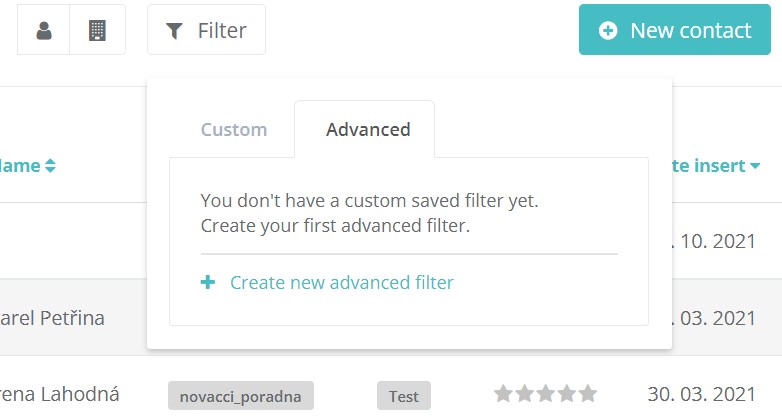
Click Create new advanced filter. The advanced filter will then be displayed.
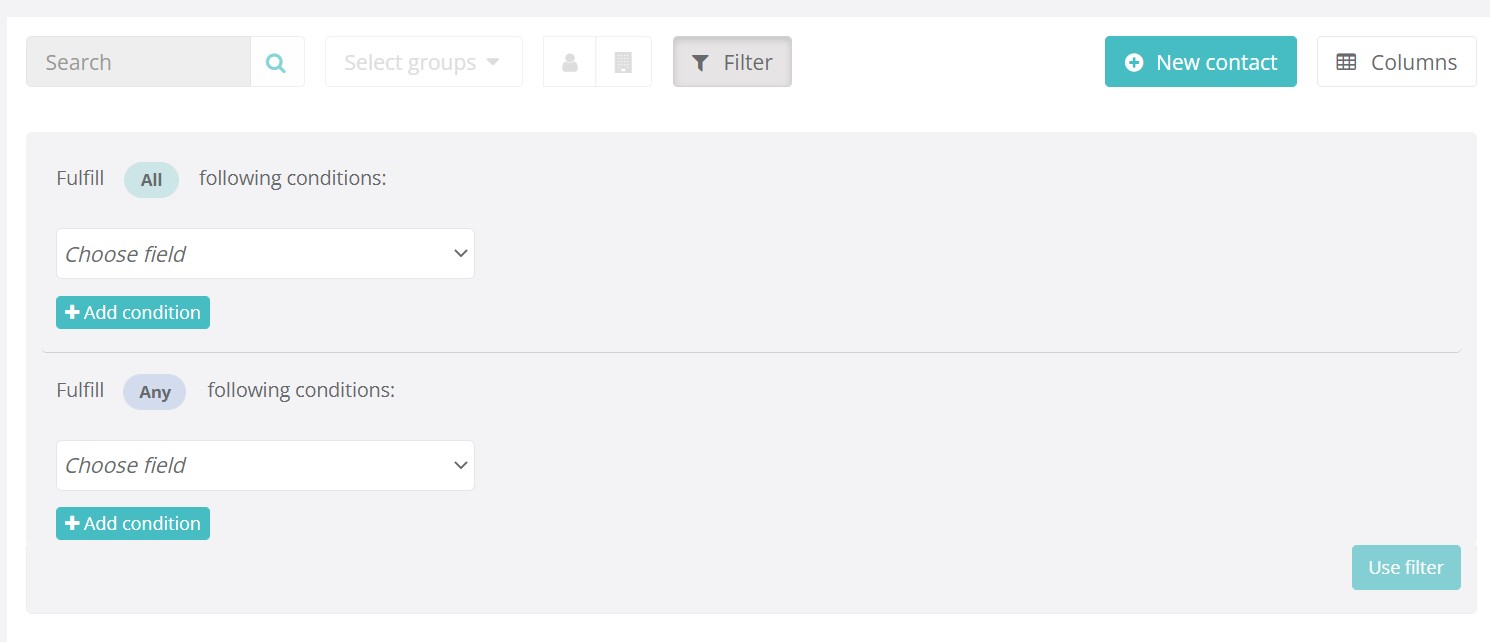
In the advanced filter, you can choose from All (condition is met if all records meet the set parameters) or Some (condition is considered met if at least one record meets the set parameters).
Note: The individual conditions on which you work with the filter may be different from the examples below. This is mainly because your imported contact database may contain different parameters than our example.
Add condition
At the add condition level, you choose the conditions themselves. Click on "+ Add Condition" to expand the condition settings.
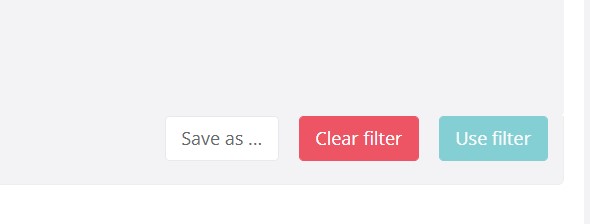
Once you have the conditions set, you click on the "Use Filter" button. You will then see the contacts that match the conditions you set in the filter.
In case you want to set different conditions and the current filter no longer suits you, click on the "Clear filter" button.
Saving contacts
Click "Save as ..." button will display a new window where you can choose whether to save the selected contacts as a dynamic segment or as a custom advanced filter.
You can use the dynamic contact segment in campaigns where you send a newsletter or SMS to the selected contacts.
With a custom advanced filter, you'll have your contacts at your fingertips for changes.
By selecting one of the features and clicking Continue, you'll be taken to the next step where you name and save the segment or filter.
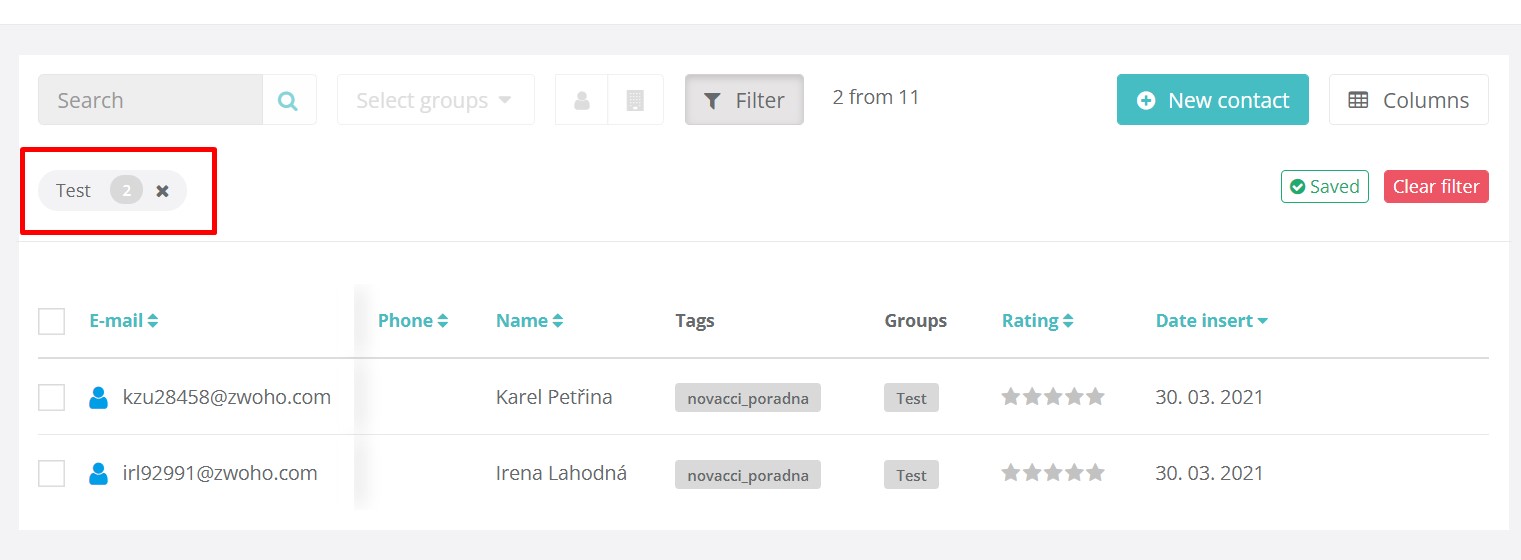
The saved segment or filter will then be displayed in the basic filter menu.
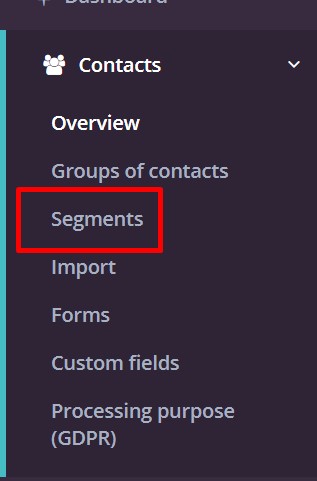
All saved segments are available in the Segments menu.
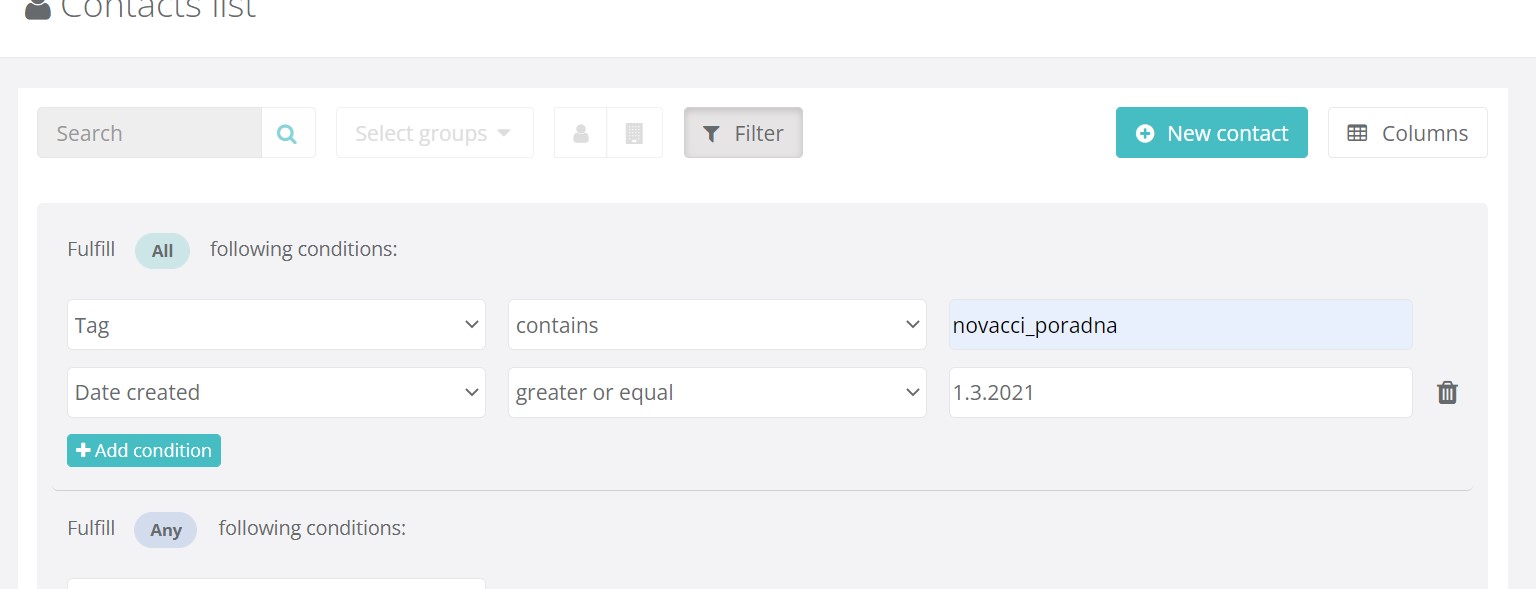
Example of filter functionality
To better illustrate the advanced functionality of the filter, we will present the set conditions in a real example.
Example
We want to display all contacts that have been added to the database after March 1, 2021 and that have the label "novacci_poradna".