How to work with information in contact details
In Reago, you can manage your contacts and have an instant overview of all your basic information.
Contact overview
You can find a list of all the contacts you work with in Reago in the Contacts category and the Overview subcategory.
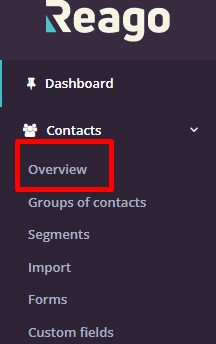
Clicking on the Overview subcategory will take you to a listing of all your contacts in Reago.
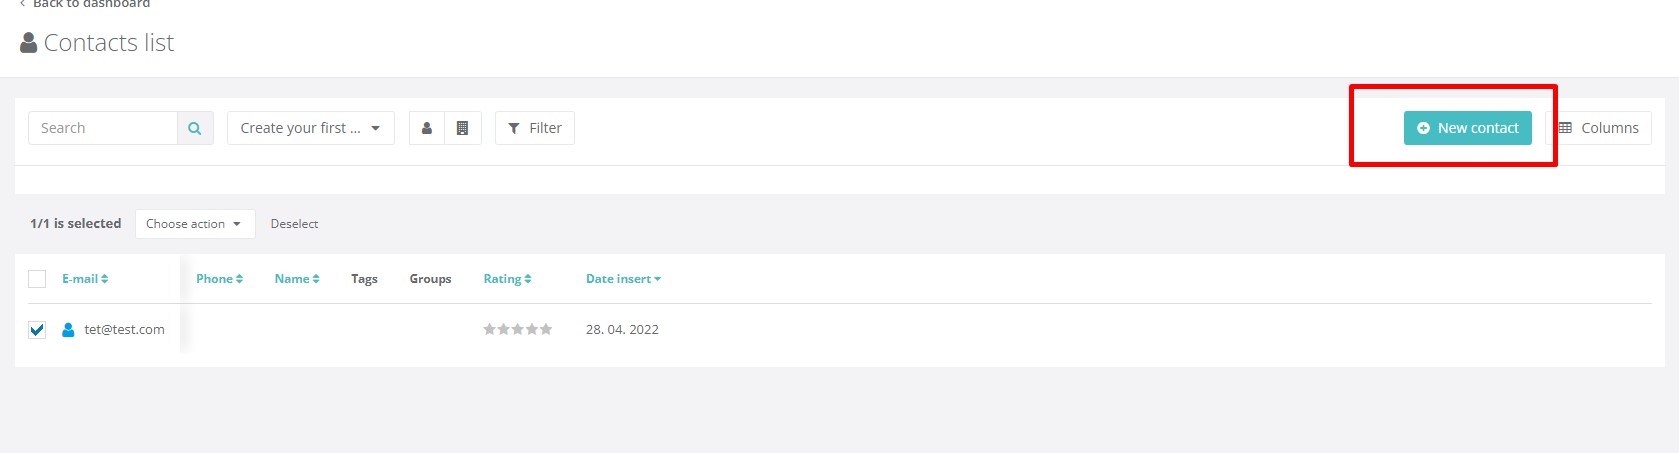
The basic contact listing contains 6 columns (email, phone, name or title, tag - label, rating - rating, and date created).
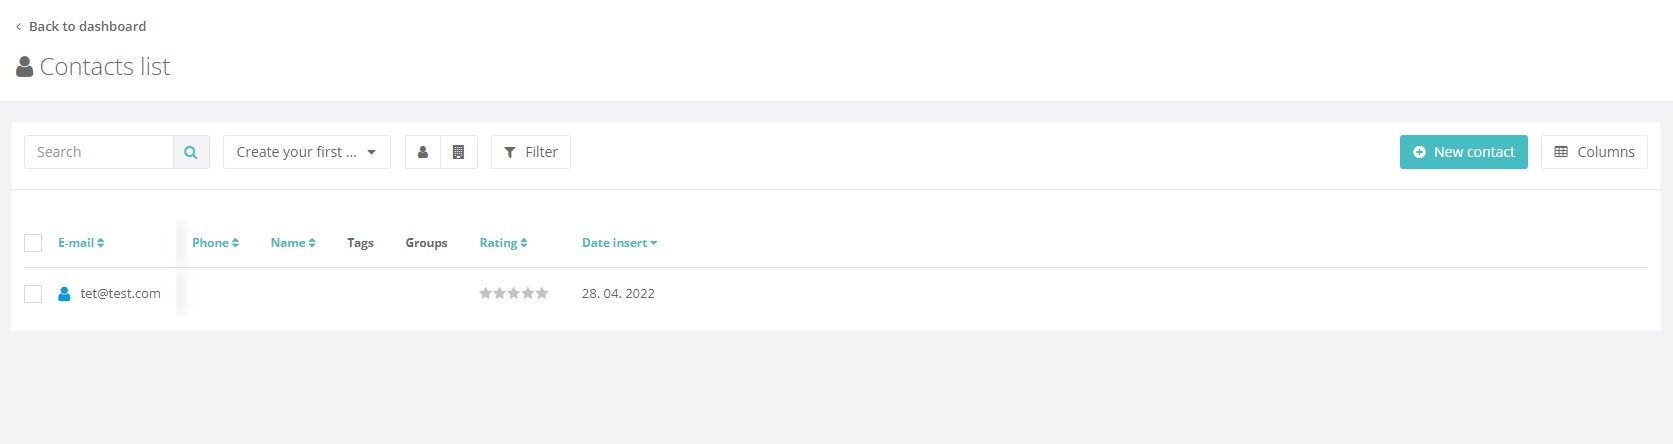
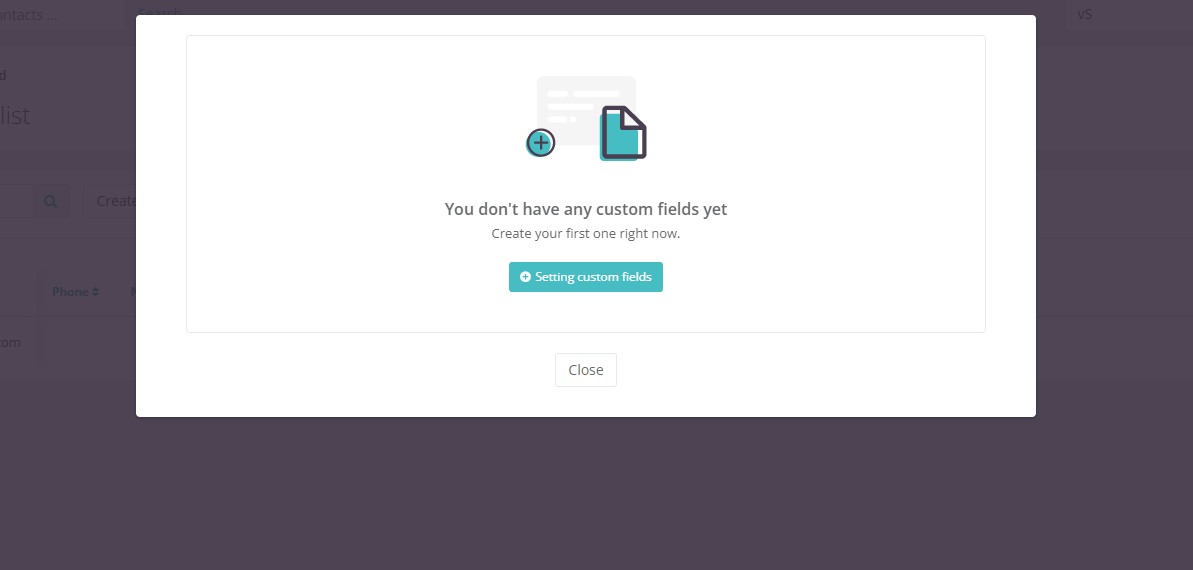
These columns can be expanded with custom fields according to your needs. To expand, click on the "Columns" button in the upper right corner. This will open a new pop-up window within which you can create a new custom field.
You can edit contacts within this listing via bulk actions that are activated by selecting a specific contact/contacts or all contacts.
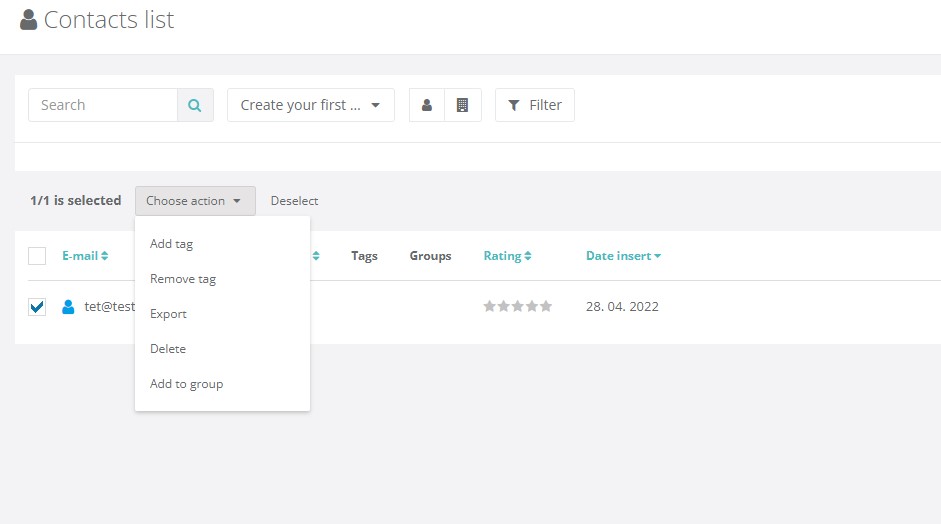
Within these bulk actions you can add a tag (label) to the contacts, you can also remove an existing tag (label), you can export or delete contacts here. To perform the selected action, click on it in the menu displayed.
In the Overview subcategory, you can also add a contact manually by clicking on the "New contact" button in the upper right corner.
Contact detail
By clicking on the selected contact in the contact list, you will be redirected to its detail.
The contact detail is divided into 6 tabs, the contents of which are described below.
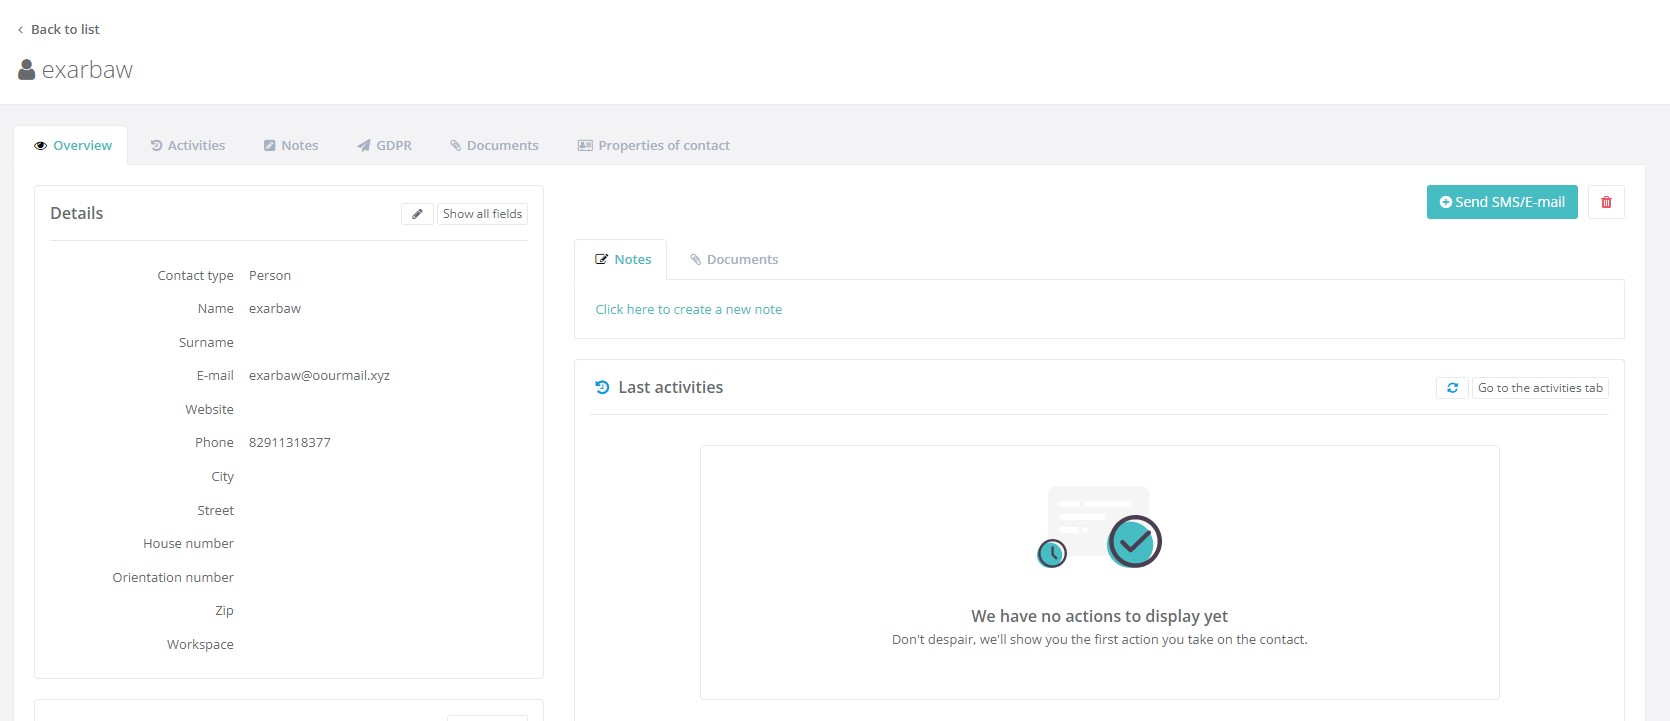
Overview
The first overview tab is used to provide a basic overview of the contact's information. It is divided into 7 sections: Details, Contact Links, Tags, Contact Rating, Contact Owner, Notes/Documents, Recent Activity.
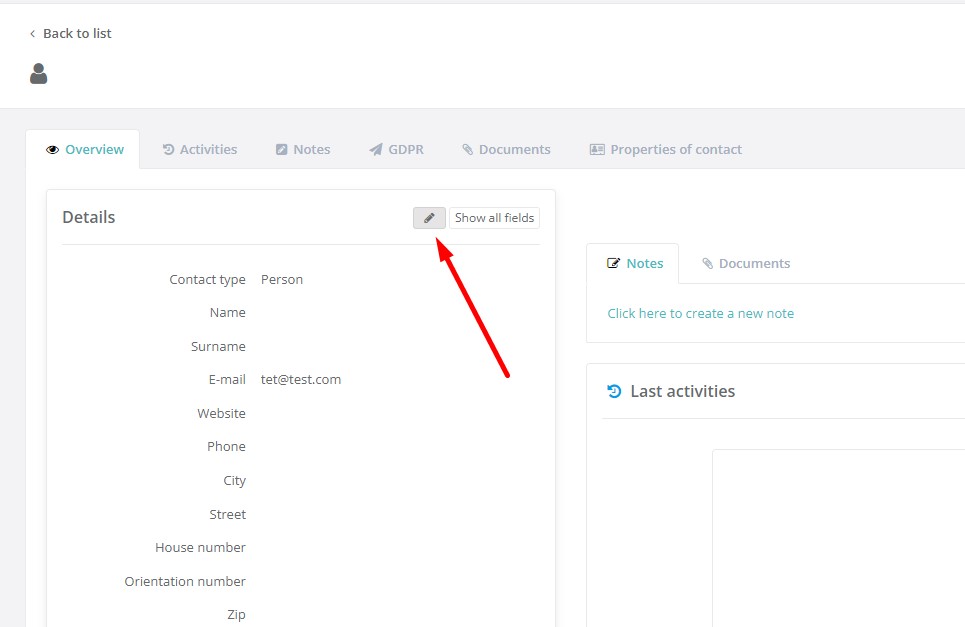
Details
The Details section shows the basic information about the contact. You can edit this information here by clicking on the "Pencil" icon.
Notes
You can add a note not only on the main contact overview. You can also add one in the Notes tab. Click on the "Add Note" button to activate the text editor where you can insert the note and then click on the "Save" button.
In this folder you will also find all the notes available. Here you can edit or delete them.
GDPR
In the GDPR tab you can manage the permissions under which you can communicate with your contacts. This is an agreement from the contact that you have permission to work with their data.
When you create an account in the app, a basic permission to send SMS messages or newsletters is automatically created for each such newly created account. You can select this basic permission when you import contacts in bulk, or you can enter it manually in the details of each contact.
Manual insertion is then done in the GDPR tab when you click on the "Add permission" button.
A pop-up window will appear from which you can select which permission is current for the contact. Either consent to receive SMS or newsletter, or a combination of both permissions. Confirm the selected permission by clicking on the "Save" button. The permissions will then be written in a list in the GDPR tab for the specific contact.
Documents
The documents tab is used to upload files for a given contact. To upload a file, click on the "Add file" button. Once the file is uploaded from your computer, it will be written as a list to this tab.
You can download or delete a file saved in this way.
Contact properties
In the last tab, Contact Properties, you can edit the basic contact information or add custom fields. It is also possible to edit the type of contact here, either as a natural person or a legal entity.
Contact type
In the Contact Type section, you can select whether the contact is a natural person or a legal entity. You can make the change by clicking on the "Change contact type" button.
Basic data
The Basic Data section contains fields for filling in basic data. These fields are displayed as part of the basic account settings in the application. Therefore, the fields cannot be removed, they can be left blank. To fill in a specific field, click on the "Pencils" icon. This will activate a fill-in window where you fill in the data and then save everything by clicking on the "Save" button.
Custom fields
In the last section, Custom Fields, you can insert custom fields according to your specific needs, which are an extension of the basic fields.
Clicking on the "Add custom field" button will activate a pop-up window. Here you can select the type of field and then name it. In case you want this field to be visible for filling in when adding a new contact one by one to the application, you leave this option checked. Then click on the "Add field" button.
The newly saved custom field will be overwritten in the Custom Fields section.
You can fill this field by clicking on the edit value. You can also select the option to display it on the report. This function means that the value is overwritten with the contact information in the Overview tab.
Clicking the "Show All Fields" button will take you to the Contact Properties tab. For more information on this tab, see our help article below.
Contact links
In the Contact Bindings section, you can link this contact to another contact. This feature is particularly useful if you want to link multiple contacts to a single company in the Reago database. To add or remove a link, click on the "Add/Remove" button.
Then click on "Add another link", search for a specific contact and click on "Save".
Tags
You can tag each contact with its own tag (label). This tag is used to create segments of your contacts or searches. To add a tag (label), click on the "Add/Remove" button.
Clicking on this button will display a box for managing these tags (labels). You can then add a new tag or remove an existing tag. Confirm the tag settings by clicking on the "Done" button.
Rating a contact
You can also manually rate a contact via the stars in its details. Click the mouse cursor on the star rating to either add or remove it.
Contact owner
You can also assign an owner (another user of your workspace) to each contact. To add a contact owner, click on the "Transfer ownership" button. This will activate the list of users in your workspace. Select a specific owner and confirm the selection by clicking on the "Save" button.
Notes/documents
For each contact you can create your own internal note or attach a document.
To create a note, click in the Notes field.
You will then be presented with a text editor in which to type your note. You then click on the "Save and paste to timeline" button.
You can then click on the Documents tab to attach specific files to the contact. You can add a file to a contact using drag and drop, or you can add a file from your computer by clicking the "Select file from your computer" button.
Recent activities
The "Recent Activities" section shows the 5 most recent activities that have happened for the contact. You can view the history of all activities by clicking on the "Go to Activity Tab" button.
Send SMS/E-mail
You can also send an email or SMS to the contact from the contact details. Click on the Send SMS/E-mail button to display a new window.
In the new window you can select either an e-mail or an SMS message. You will then be redirected to the email or text message editor to create and send the message.
Activities
In the activities tab you will see all the activities of the contact.
You can filter these activities by type of action or time period, among other things.