How to create a web form for collecting contacts
In this help article, we'll show you how to create and embed a contact collection form on your website.
Creating a form
In the vertical menu, click on Contacts and then click on Forms.
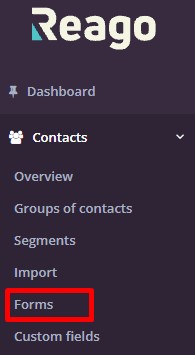
A new window will open on the right and you can click on "Add a new web form".

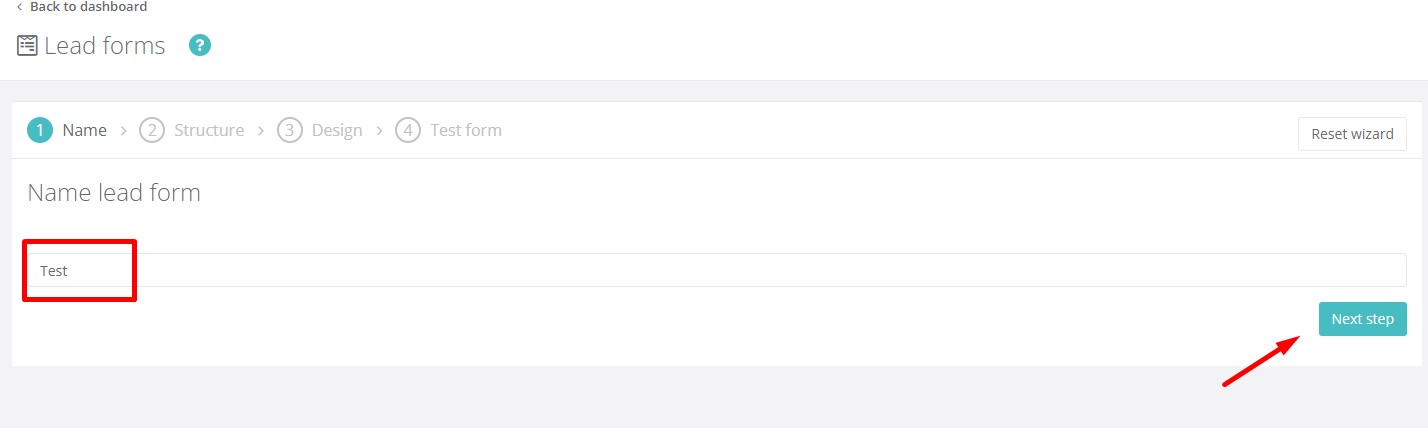
Step 1
In the first step of creating a form, name the form. Then click on the "Next Step" button.
Step 2
In the second step, you select the form elements in the Field Name column.
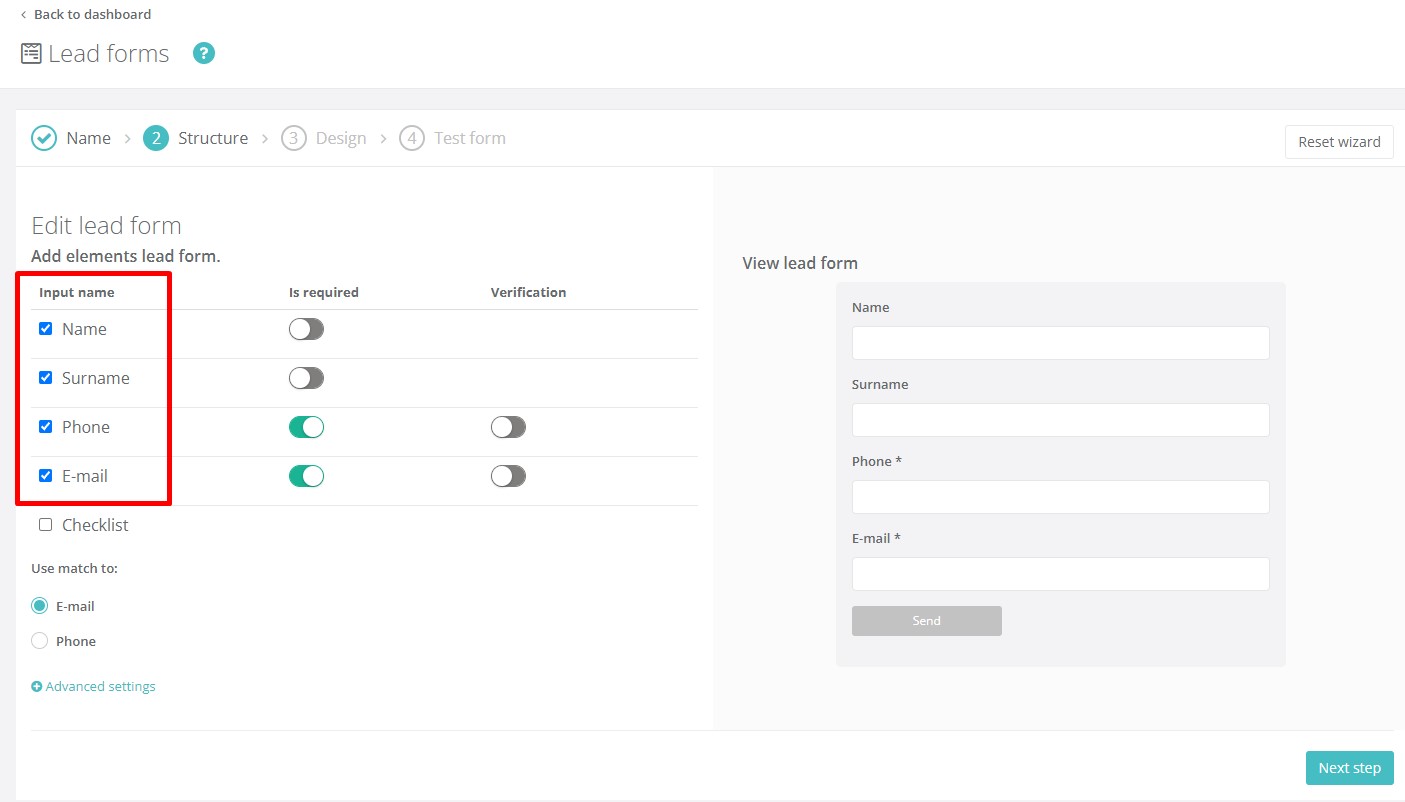
In the Fields are required column, you can then select which data are required for filling in and which are not.
In the Verification column, you select which data you want to verify by verification email or SMS after filling it in.
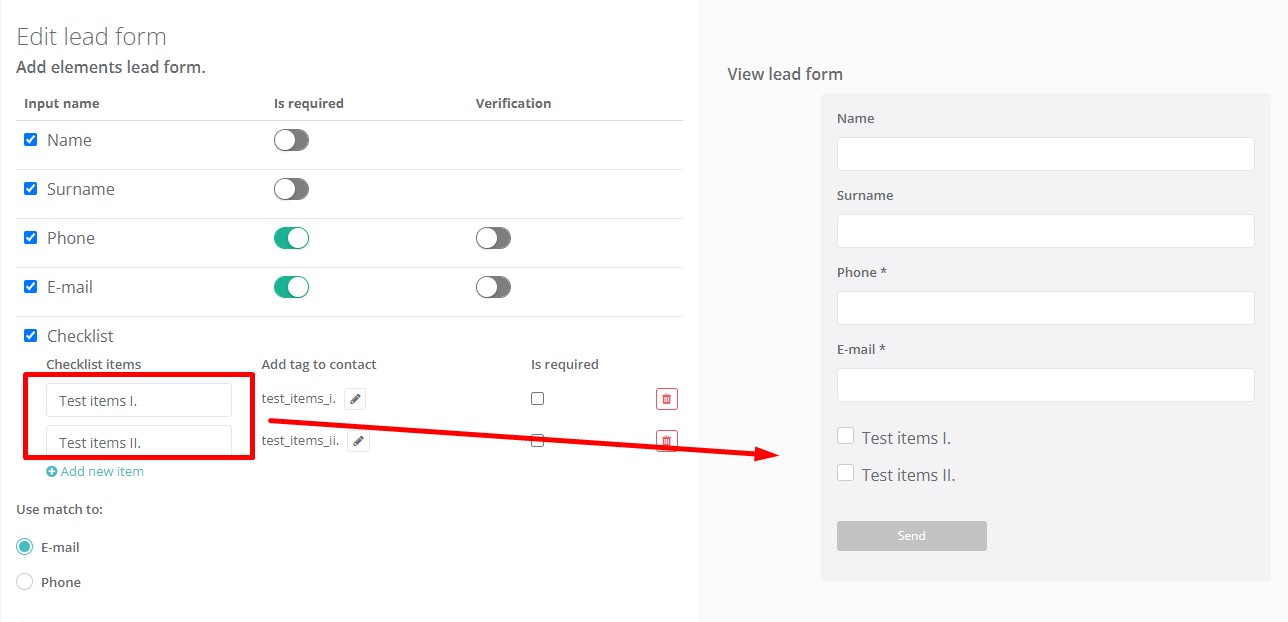
If you check List, the first field will appear where you can fill in the item that will be written into the form.
In the List Items column, you can enter text, and in the Tag Contact column, you can leave a tag (tag) that will be automatically overwritten based on the first entry. You can edit this tag by clicking on the pencil icon. In the last column, Field is mandatory, you then choose whether or not checking the item will be mandatory when filling out the form.
The List Items section is an extension option of the web form. If you do not select this option, the functionality of the form will not be affected in any way.
Note: The tag is placed here for better clarity and to work more efficiently with the contacts that are collected through this form. Each contact that you collect in this way will be tagged. You will then see the tag next to the contact in the Person/Company contact list.
For Select the data used to pair contacts, you select which data will be the main one for matching the contacts obtained via the form with existing contacts in Reago CRM. This element is particularly important to avoid duplicate contacts in your database.
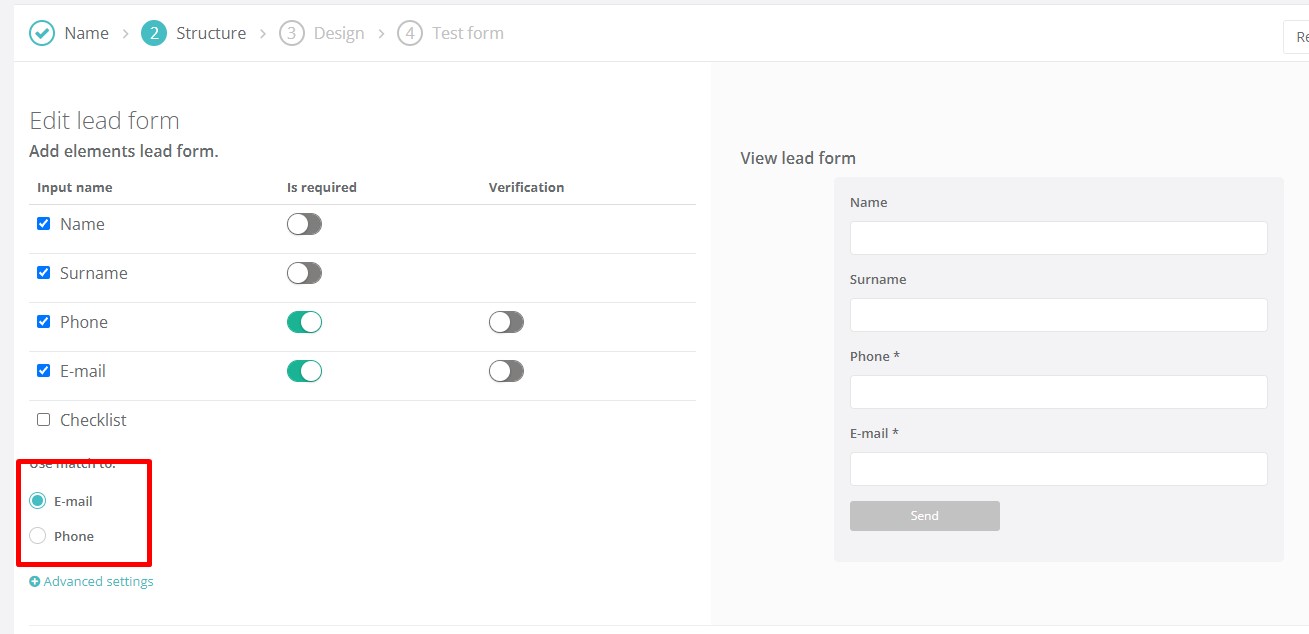
In the Advanced settings section, you can choose where to store your contacts. Whether to Persons or Companies. You can then add a tag (tag) at Add tag to contact to recognize contacts that have been retrieved via the web form. In the last section, Web Form Language, you choose which language you want the web form to be in, whether English or Czech.

Once the web form has been set up, proceed to the next step by clicking the "Next Step" button in the bottom right corner of this window.
Step 3
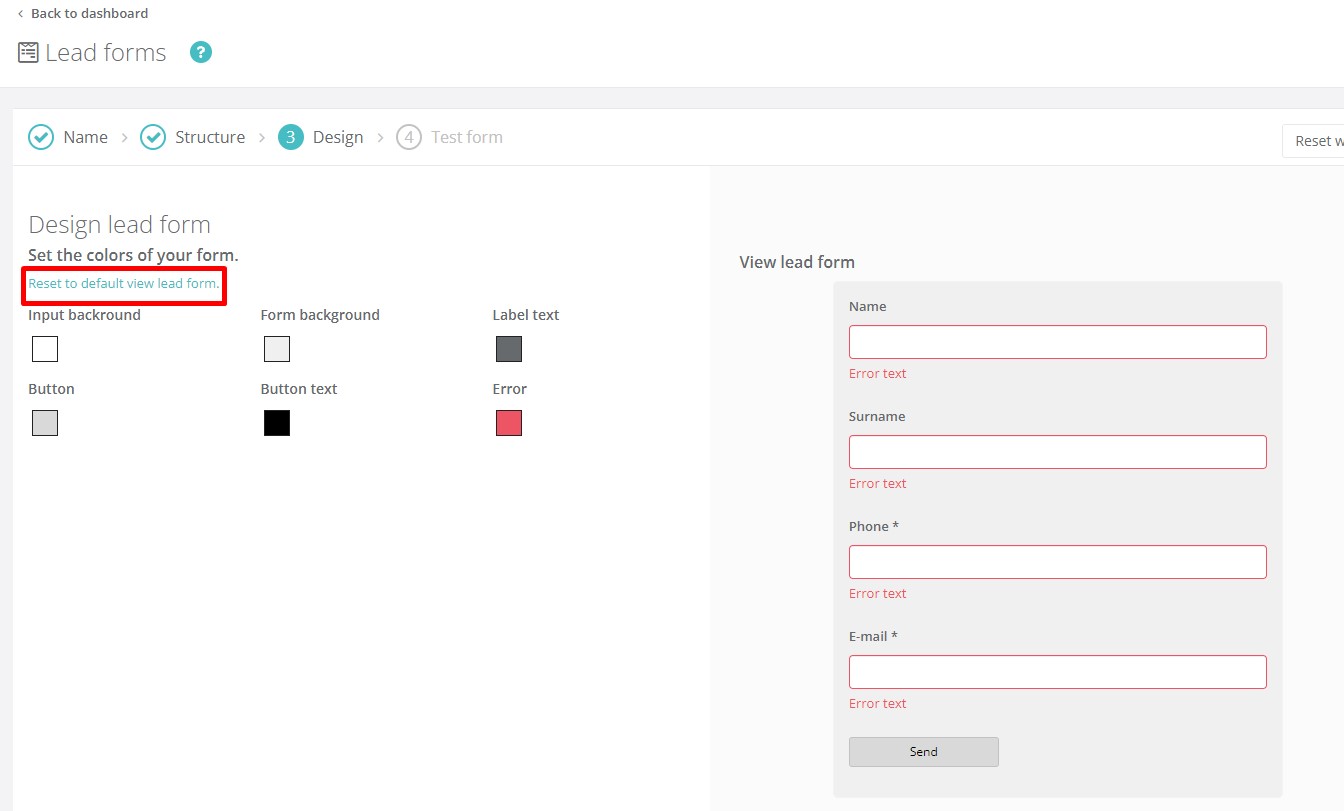
In the third step, you select the color interface of the web form. Select the color of each item by clicking in the colored cube. Any color changes will be displayed in an instant in the right-hand preview of the web form.
- Field background - the color of the fields to fill in the data.
- Form - the background color of the form.
- Text - the color of the text above each field in the form (first name, last name, ...).
- Button - color of the button.
- Text in button - color of the text in the button.
- Error - color of error messages when incorrectly filled in data in the form.
In case you want to remove the colors you have chosen, click Reset form settings. The form will revert to the default color settings.
To continue to the fourth and final step, click on the "Next Step" button in the bottom right corner of this window.
Step 4
In the last step, you will get the generated web script of the form you created to embed on your website. Copy this code by clicking on the Copy Code button.
You can also copy the unique URL created for this web form and send it to your colleagues to preview, for example. To copy, click on the "Copy" button in the URL section of the web form.

The web form can also be tested in this step by clicking on the "Test web form" button.
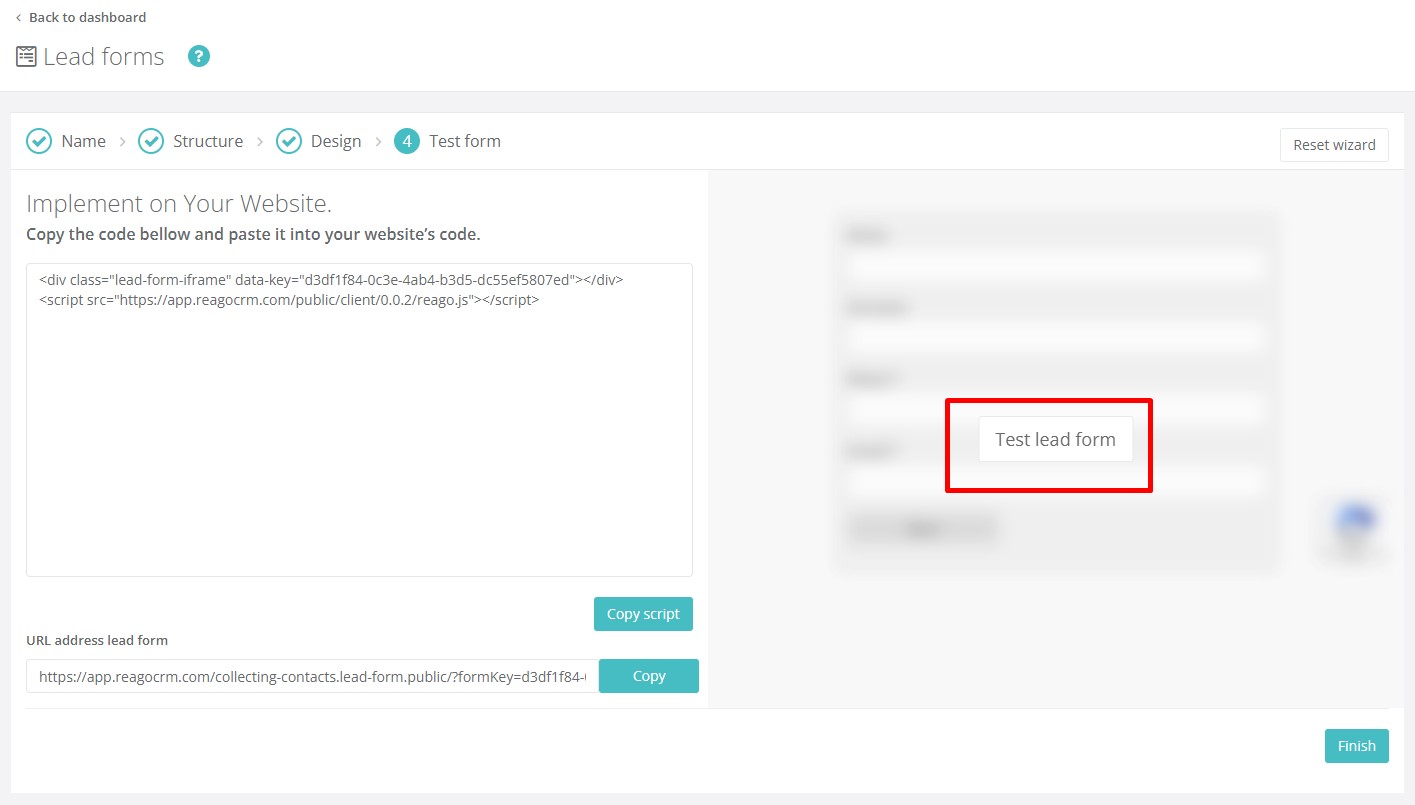
Save the form by clicking on the "Finish" button in the bottom right corner of the window.
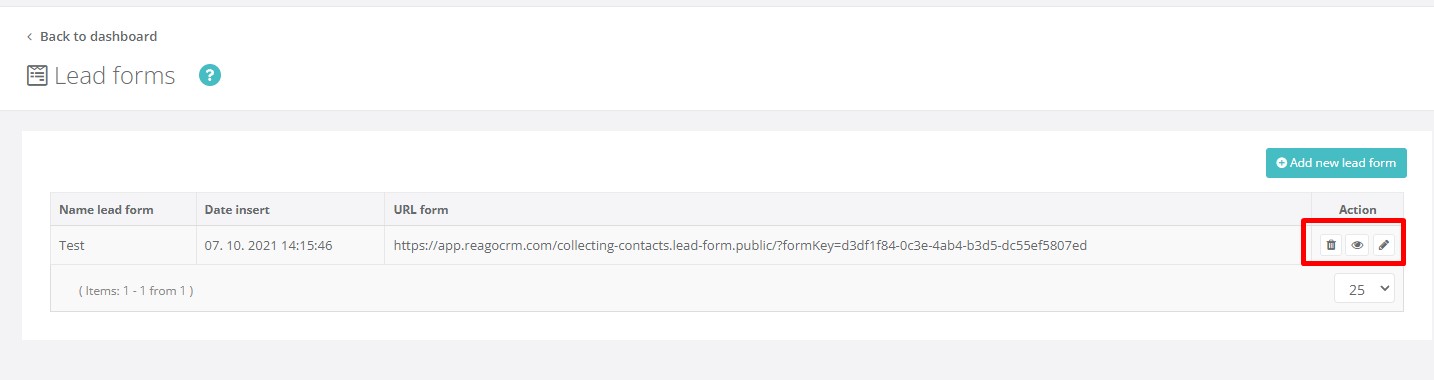
List of web forms
The new form will be saved in the list of web forms. Here you can delete the web form, view its web script or edit it.