How to send a newsletter
You can easily send the newsletter via our wizard.
Creating a newsletter
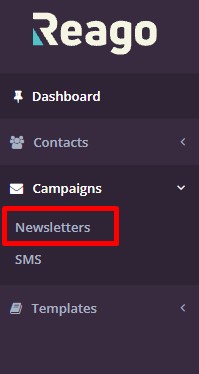
Click on Campaigns and then Newsletters.
Click on Add new newsletter in the top right corner.

You will be redirected to the next step.
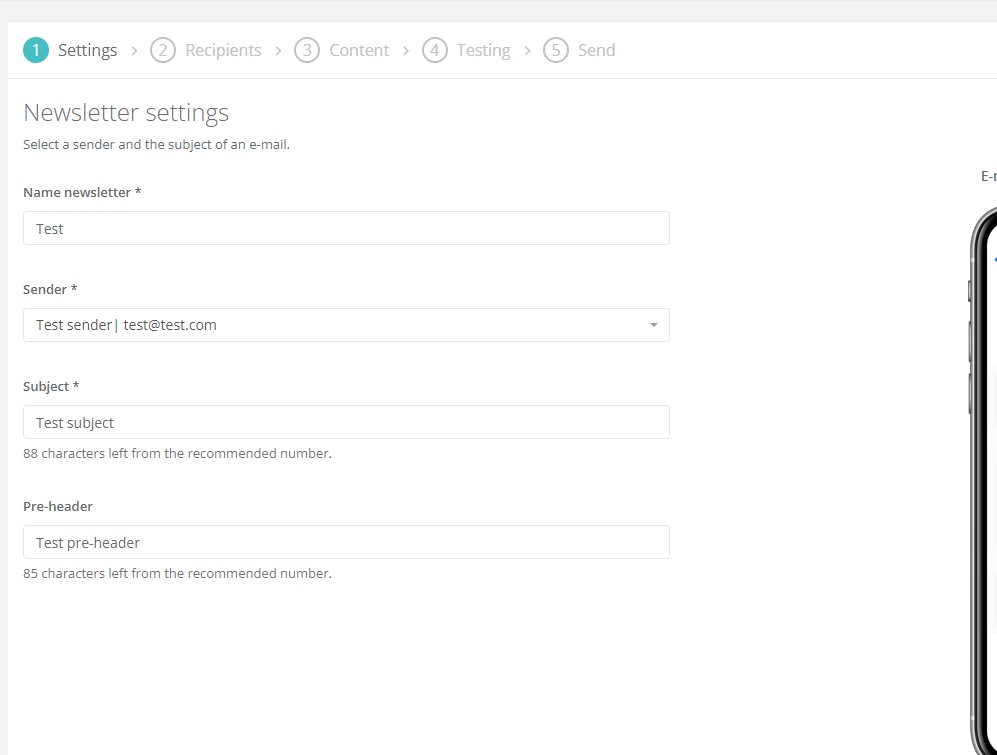
Newsletter settings
In the first step you set up the basic data for the newsletter itself
Newsletter name - name the newsletter for your internal needs
Sender - select the sender of the newsletter
Subject - fill in the subject of the newsletter
Pre-header - fill in the subject header that will appear after the main subject of the newsletter
On the right side you will see a preview of the sender, subject and subject header of the email. The data will also be displayed in this form to the end recipient.
Once you have set up the first step of Settings, click Continue.
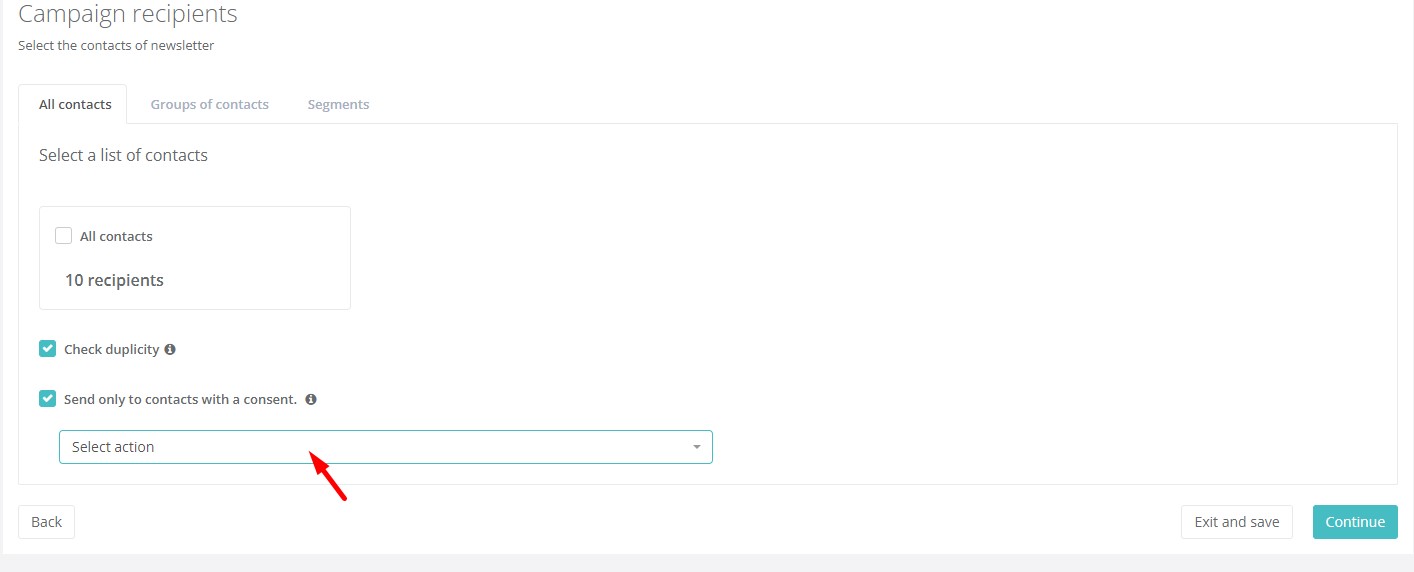
Selecting recipients
In this step, you select which recipients the newsletter will be sent to. You can select from either the All People or All Companies contact list. Alternatively, select both options.
In the Segments tab, you will then have saved the segments you have created from the Contacts section. A separate help for creating Segments is available here.
Selecting Check duplicity will prevent the same campaign from being sent to a contact that has already received the message.
Select an action that gives you permission to send email messages to users. For newsletter purposes, select the action Basic permissions -> Send email.
Content of the newsletter
In the third step you select the newsletter you are sending. You can choose from either the templates already created or you can create an email template here.
If you choose from the list of already created templates, you will be redirected to the next step where you can edit the template or select another one. In this step you can also add an attachment to the newsletter.
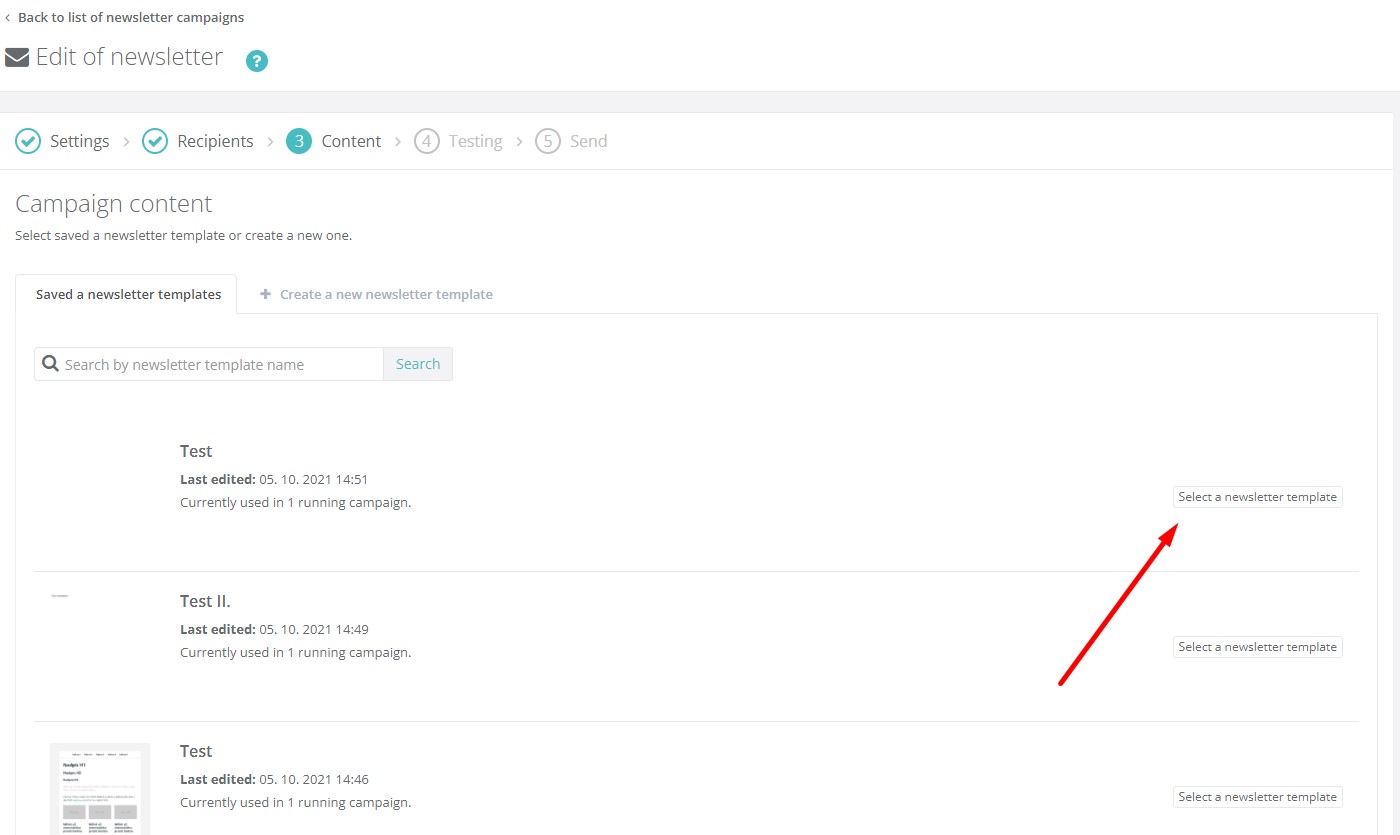
If you are satisfied with your template selection, click Continue.
Testing the newsletter
If you wish, you can send a test newsletter either to yourself or to your colleagues.
In the email address field, fill in the email(s) to which you want to send the test newsletter. Then click on the Send Test button.
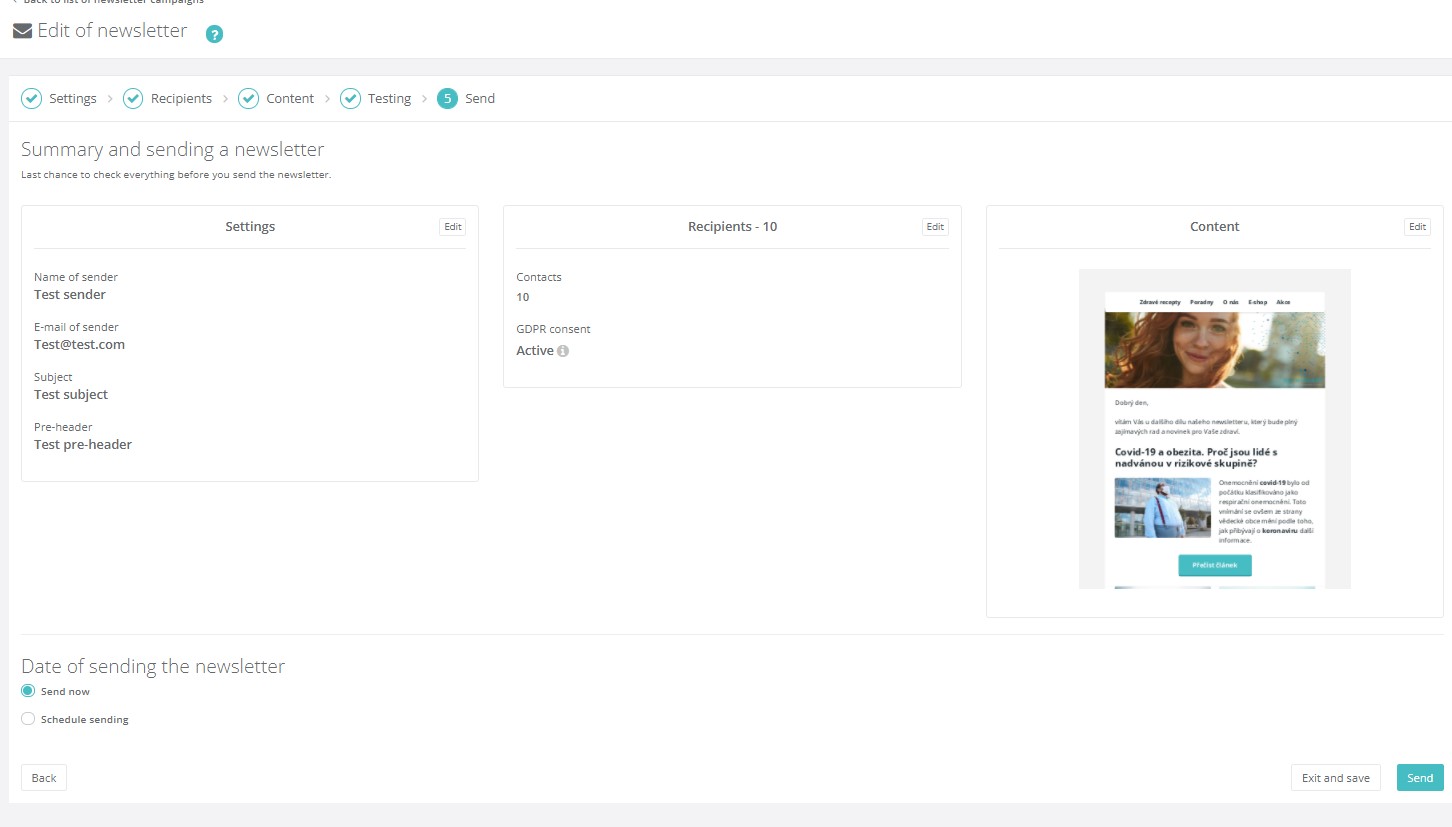
Send newsletter
In the last step you will see a summary of the email settings, recipient selection and template selection. You can edit all these values in this step by clicking the Edit button in each widget.
At the same time, you can also select the Newsletter Send Date.
You can send the newsletter immediately or Schedule it to be sent.
After this setting, click the Send button (in case you want to send the newsletter immediately) or Schedule to send (in case you have scheduled a specific date and time for the newsletter to be sent).
Overview of newsletters
After creating a newsletter you will be redirected to the list of created newsletters. Here you can see basic statistics on how many emails were sent, what the open rate and click-through rate were.
On each row, you can then select from a wide range of additional functions in the right-hand section.
For a newsletter that has been archived, you can select the Detail function, which will take you to the basic overview of the newsletter campaign. Here you can then see general information, view statistics and view contacts according to their activity after receiving the newsletter.
For a newsletter that has been sent, you can view an overview of the basic information, view the newsletter itself, statistics, and you can duplicate or rename the campaign.
For a newsletter saved as a draft, you can view, duplicate or rename the newsletter.