How to import contacts
Import your contact database into CRM system and start communicating effectively with your customers.
To add the contact itself
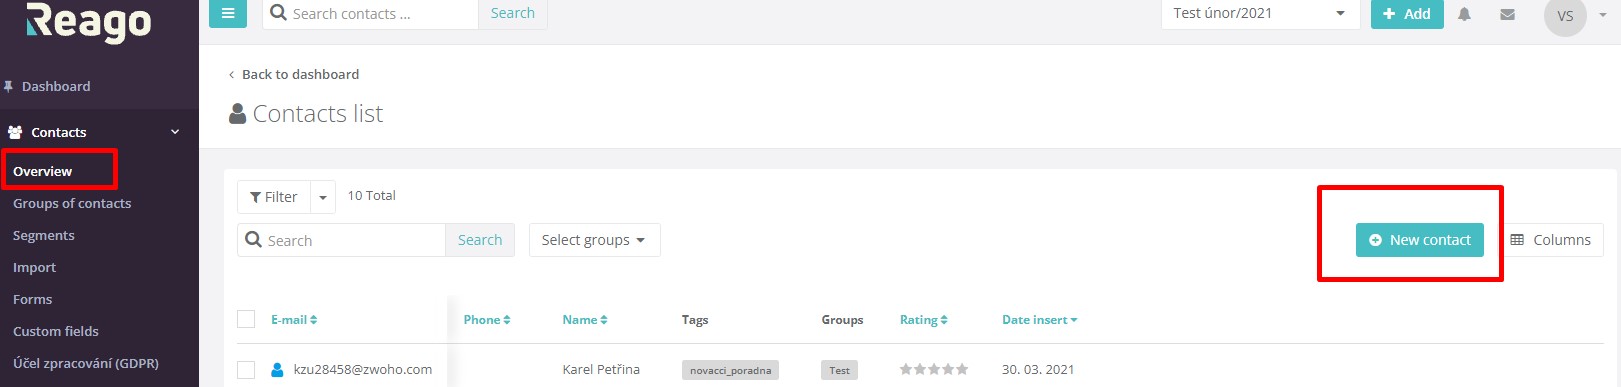
In the vertical menu, click Contacts, then click Overview.
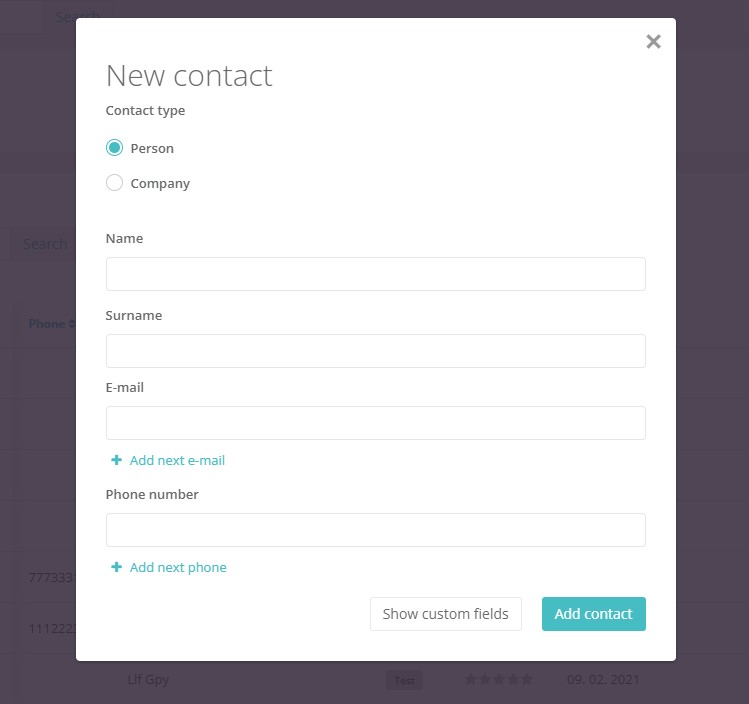
You will see an overview of your contacts. Click on the "New Contact" button to display the modal window.
Fill in the contact's details in this window and confirm the information by clicking on the "Add contact" button.
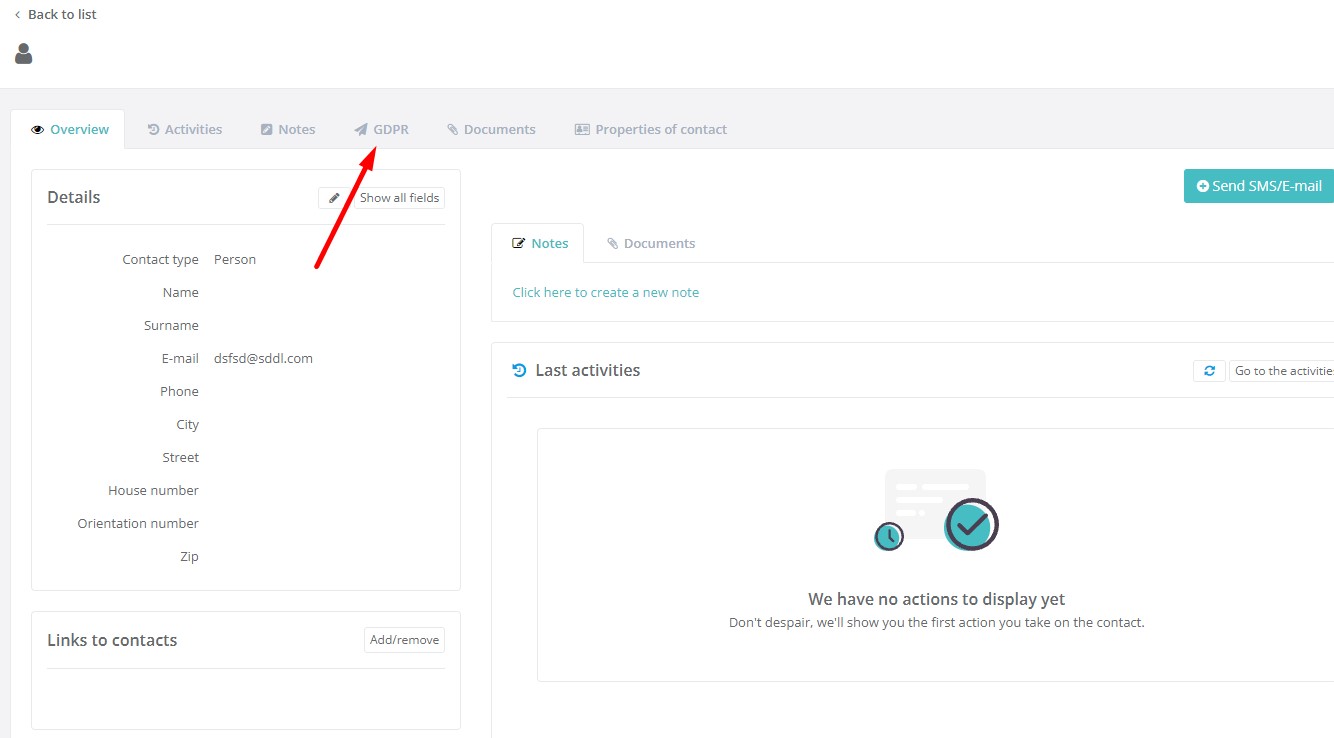
You will then be redirected to the details of the saved contact.
In the details of the saved contact, do not forget to add the necessary GDPR permissions to send the newsletter to the contact.
Click on the GDPR tab.
Then click on the "Add permissions" button.
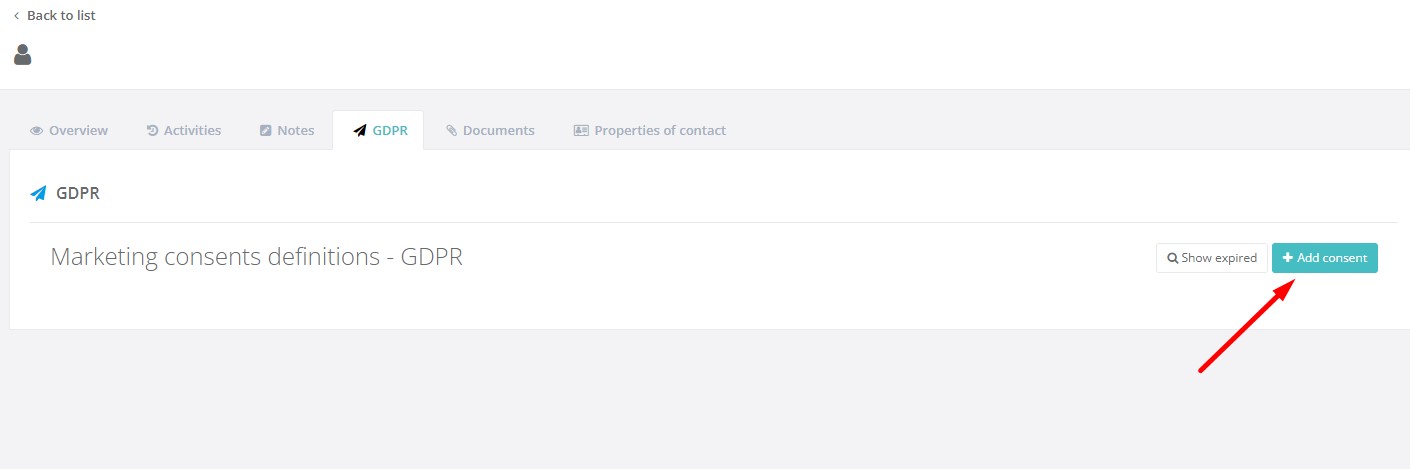
Then select Basic Email GDPR permissions from the list if you want to send newsletters to the contact, or Basic SMS GDPR permissions if you want to send SMS messages to the contact. And click "Save".
You can check if the contact is imported correctly in the Overview category.
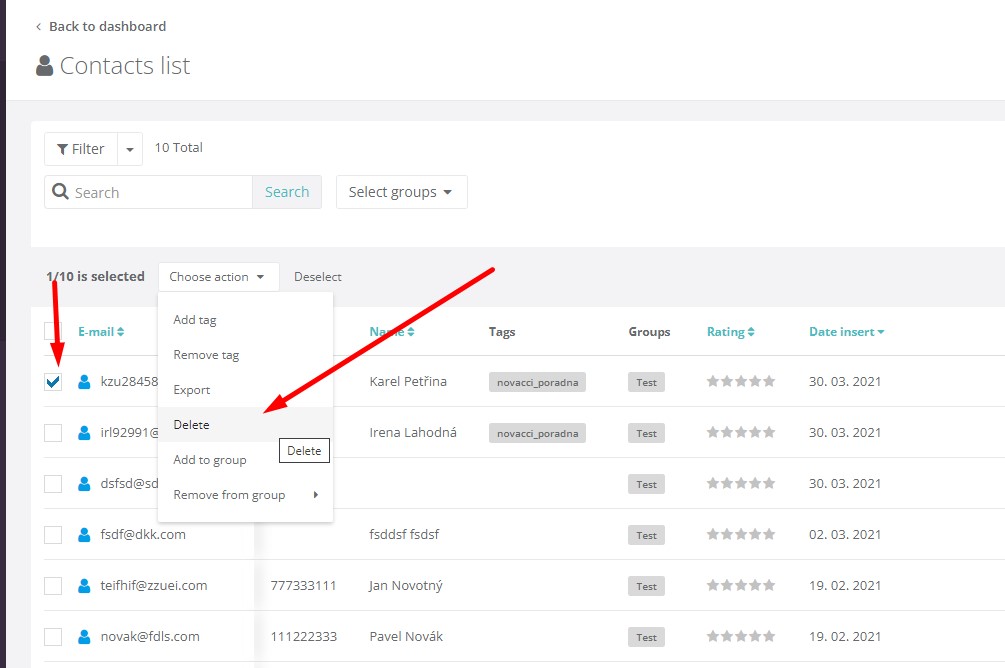
Contact delete
In case you want to delete contacts. Check the box in the first column for the selected contact.
Import multiple contacts
In the vertical menu, click Contacts, then click Import.
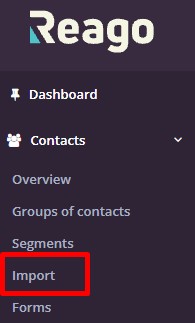
You will be redirected to a new subpage where you click on the "Import contacts" button.
Selecting the method of uploading data
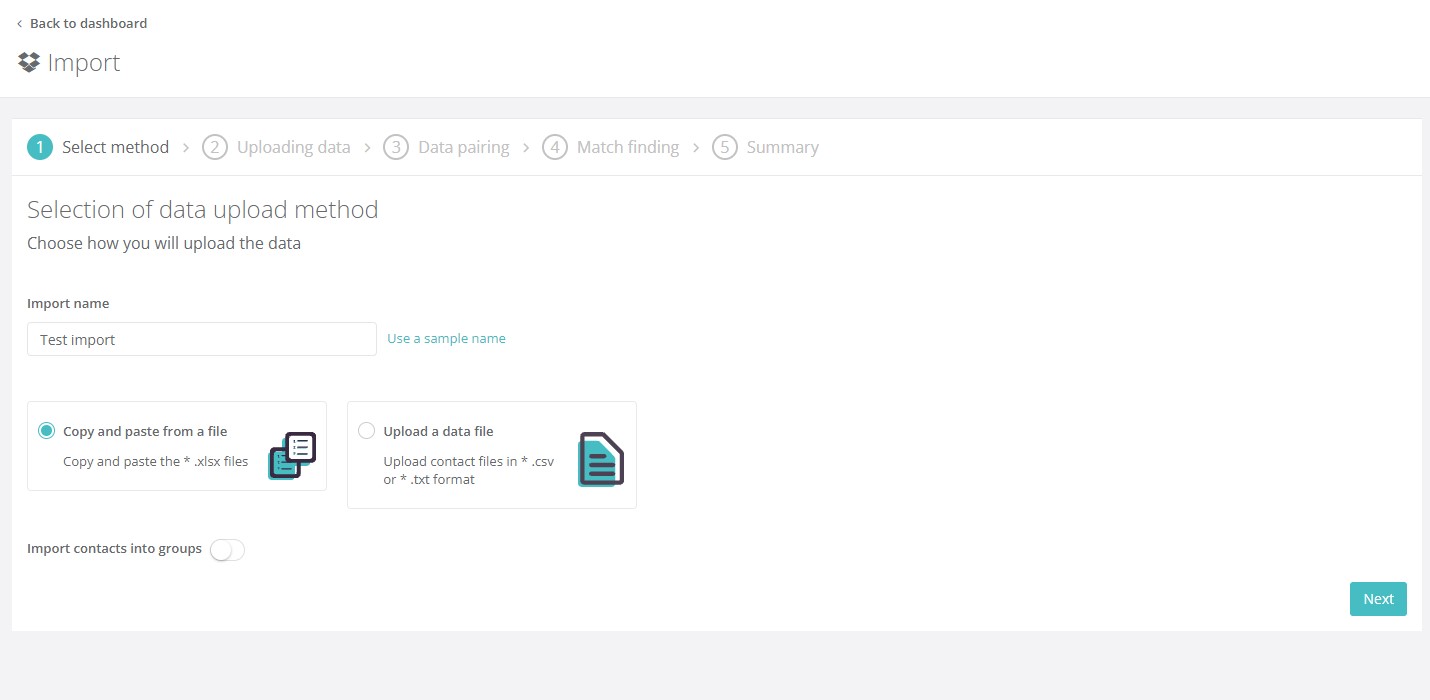
You will see the first step of importing contacts into Reago.
For the Import Name field, you can use the sample name or modify it to suit your needs.
From the menu, choose to upload the data by copying and then pasting it into the spreadsheet at the "Copy and paste from file" option or by uploading the file itself in .csv or .txt "Upload data file" format. Confirm your selection by clicking on the "Next" button.
A) Copy and paste from file
If you select Copy and paste from file, you will be taken to the second step of data import.
Paste the copied data from your external file into the field and then click the "Continue" button.
B) Upload data file
If you select Upload Data File, you will be taken to the second step of the data import.
In the box, upload the desired data file you want to import and then click the "Continue" button.
When you click on the "Continue" button, a modal window will appear in which you select the option depending on the form in which your data is imported.
- It contains the data I want to import: in this case, the first row already contains the specific contact data (test@testtest.com, +420111222333, etc.).
- It is a header that only separates my data: in this case, your first line contains the name of the columns with your data (Email, Phone number, Address, etc.)
Confirm your selection by clicking on the "I have selected and want to continue" button.
Pairing uploaded data
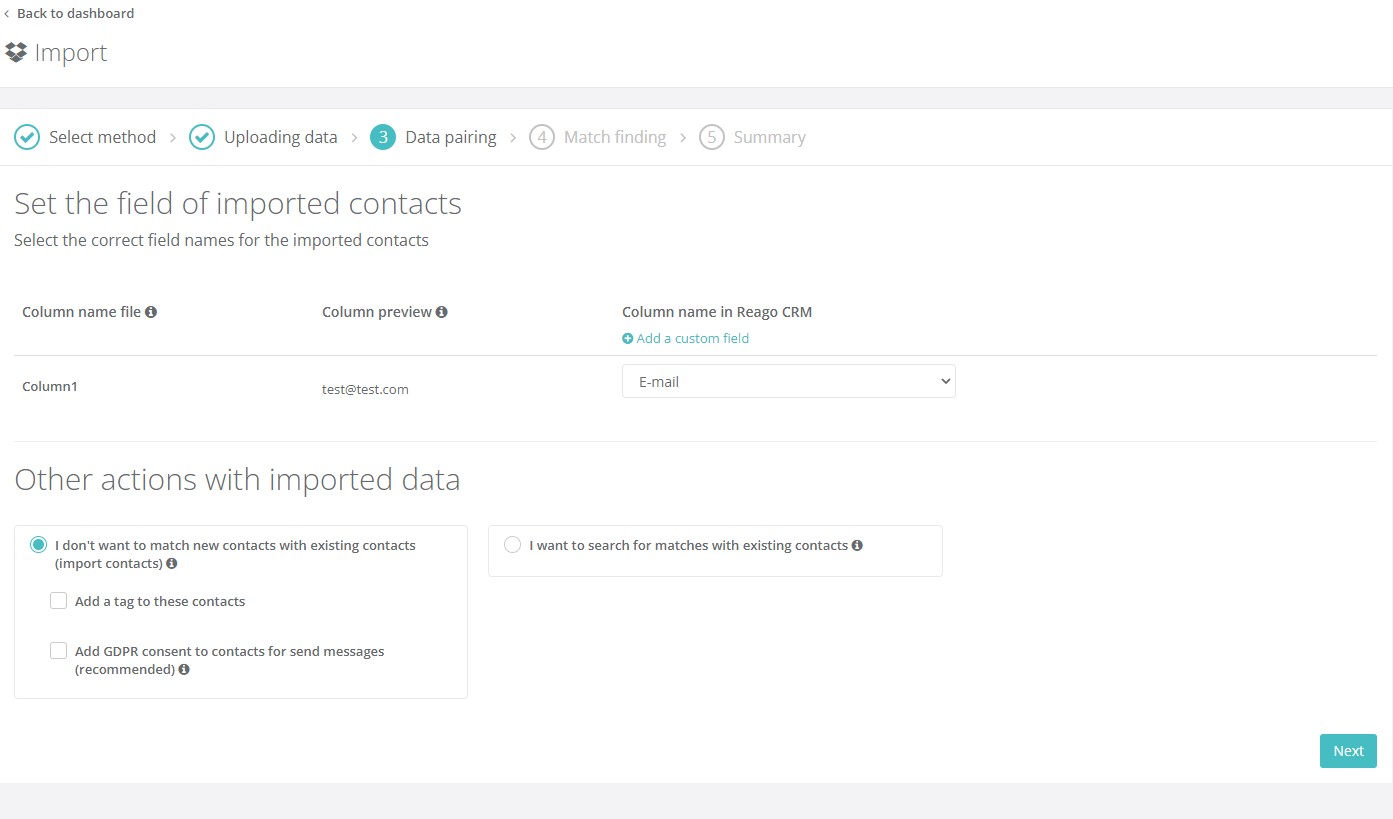
In the third step of the import, it is important to align the columns from the imported data with the columns in Reago .
The first two columns show the data from the imported file.
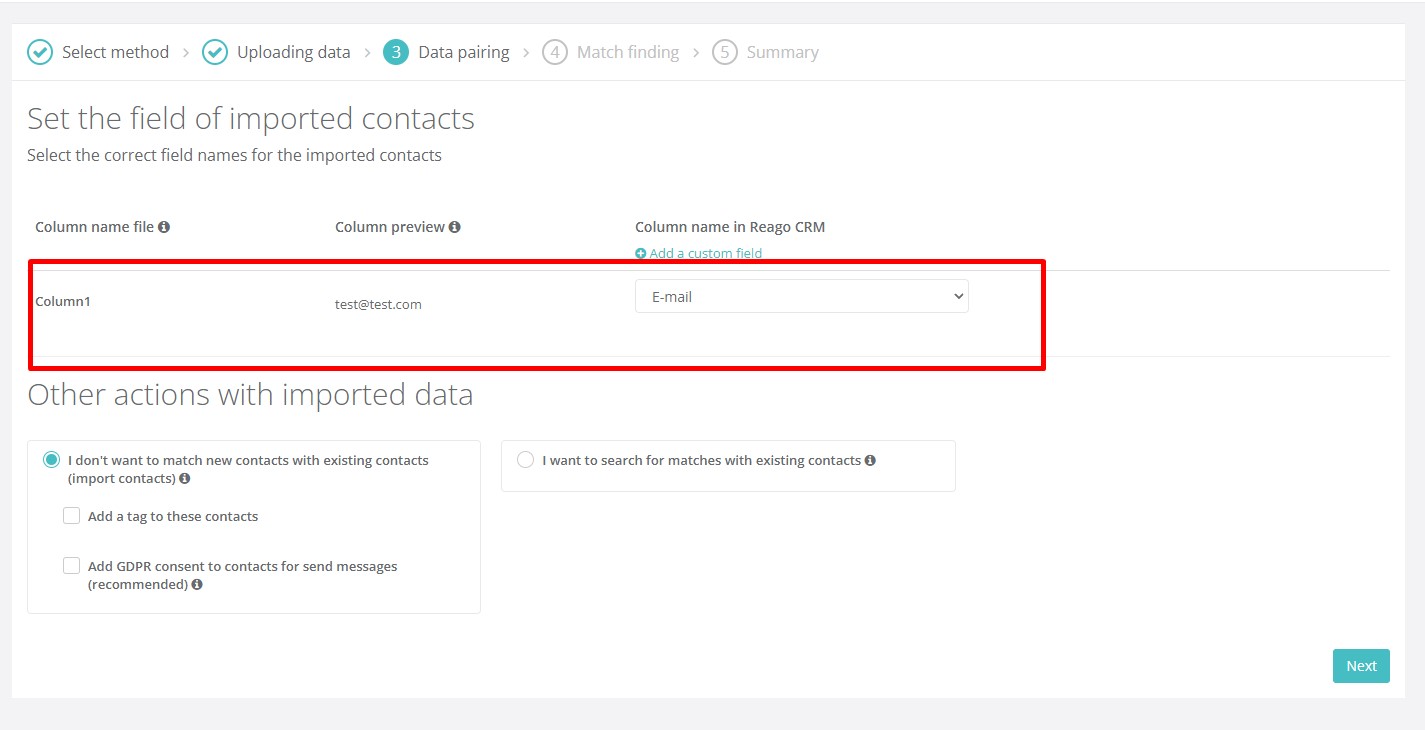
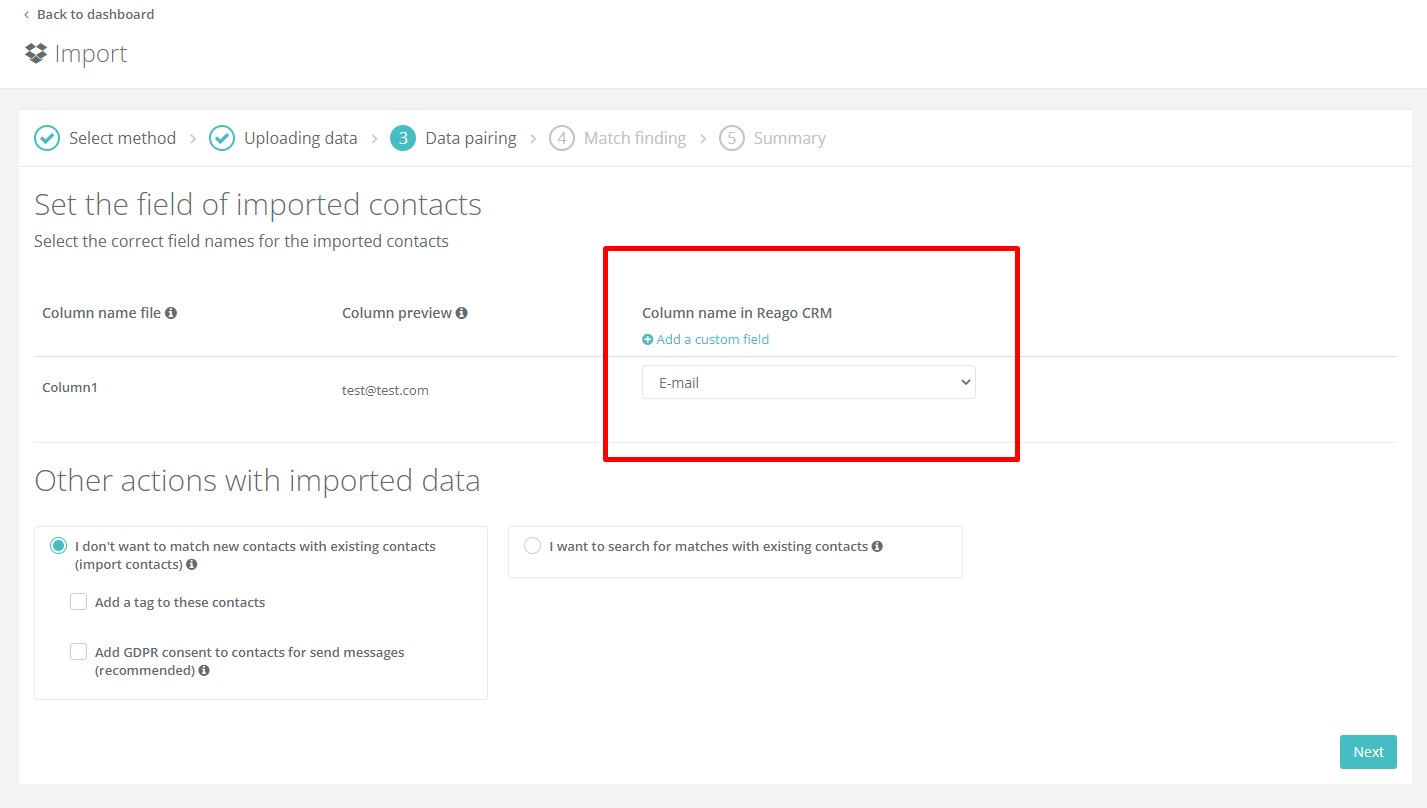
In the third one you manually assign columns in Reago that will match the values from the imported file. In some cases a specific column will be automatically detected (e.g. email), here you just check the value visually.
Other actions with imported data
In this section, you can choose from two options to further import the contacts. Either you do not want to search for matches with existing contacts, or you want to search for matches.
- I do not want to search for matches with existing contacts (naimport contacts): in this case, duplicates may arise for contacts in the Reago application after importing. It is recommended to select this option when importing contacts into Reago for the first time.
You can add a label to these contacts and mark them by selecting the "Add label to these contacts" option. In case you select this option, you will see a field where you fill in the label name.
We also strongly recommend adding GDPR consent to send communications to contacts here. With this consent, you confirm that you have the necessary permissions to handle the contacts and send commercial communications to them. If you select this option, you will be presented with a menu of basic permissions, from which you can then select which permissions you have agreed to for that contact.
I want to search for matches with existing contacts: here the system detects duplicate values and then offers further options for working with them. Here you also select the field that the system will consider as primary for matching new data with existing data in Reago.

Confirm everything by clicking on the "Continue" button.
Match check (for option: I want to search for matches with existing contacts)
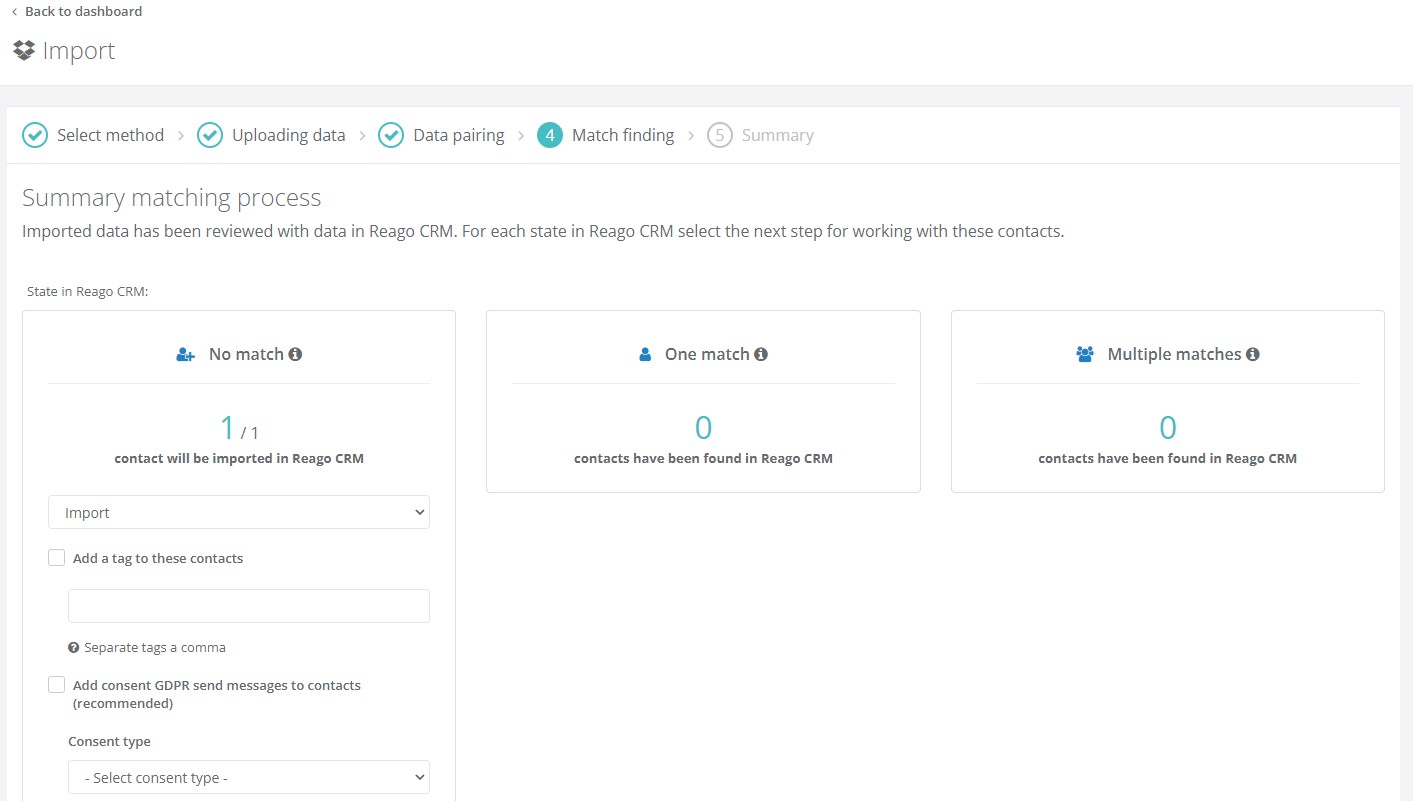
In case you have selected the option I want to search for matches with existing contacts in the previous step, you will be redirected to the penultimate step of the import Check for matches after clicking the "Continue" button.
In the penultimate step, you choose how the newly imported data should be treated in relation to the existing data in Reago CRM.
No match - unique contacts that are not available in Reago CRM.
One match - contacts that are both in the imported file and in Reago CRM.
Multiple matches - contacts that are in Reago CRM multiple times. Here, the system evaluates the already existing state of data in the CRM system.
For the above states, you select the options how the system will work with them further.
Import - the data will be imported
Update - the data will be updated
Update (for the last added contact) - the data will be updated for the last added contact in Reago CRM
Update (for the first added contact) - the data will be updated for the first added contact in Reago CRM
Skip - data will not be uploaded
You can also mark contacts with a tag here.
For contacts, we again strongly recommend setting permissions (Add to contacts GDPR consent to send communications) with the handling of the contact. These options are available for each status - No match, One match, Multiple matches. Campaigns cannot be sent without setting permissions.
To confirm the settings, click on the "Continue" button.
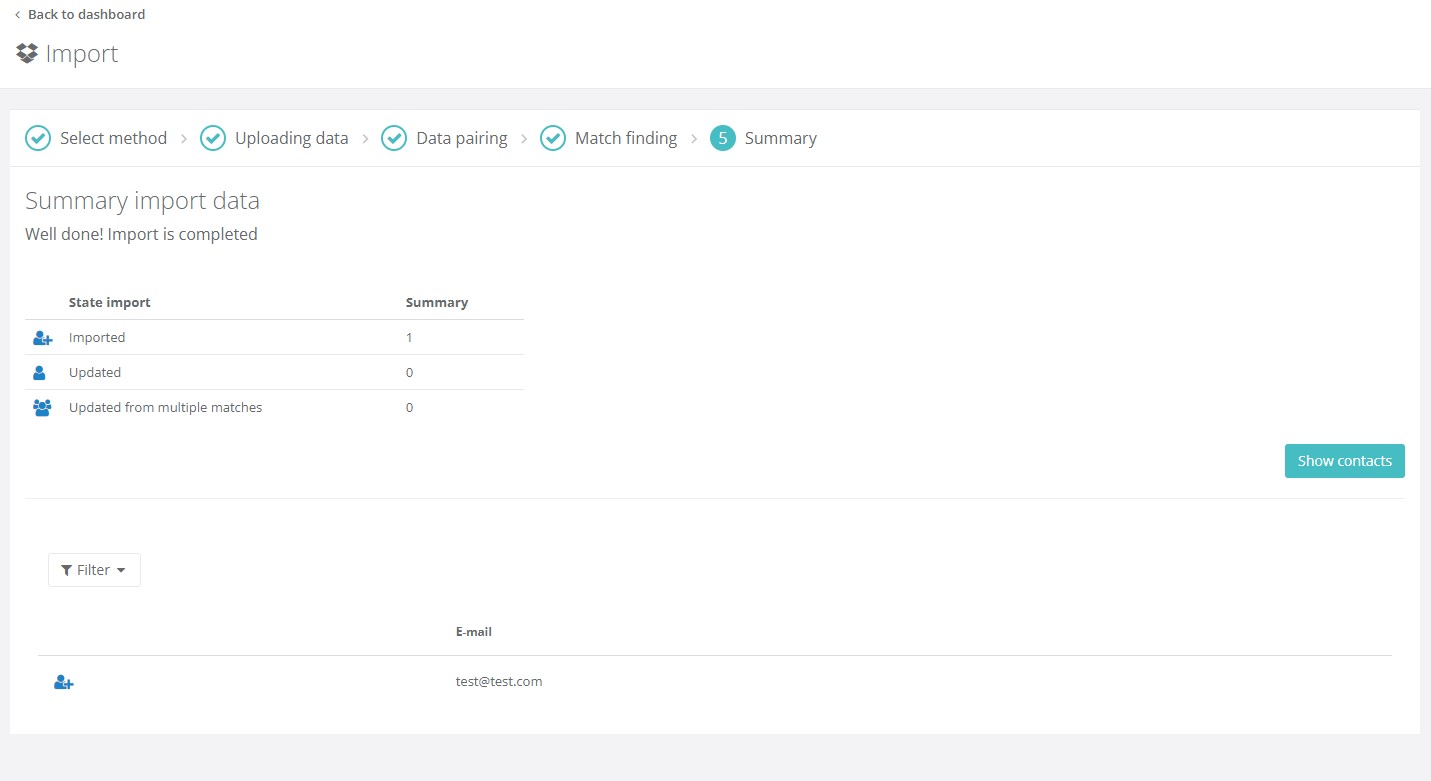
Import summary
In the last step, you will get a summary of the contacts imported into Reago. You can also check them by clicking on the "Show contacts" button, where you will be redirected to the contact listing.